Wixey digital readout install

Tools, Reviews, how to use, show it off, new purchase, hand tools, power tools, new technologies, routing/bits, jigs/templates, etc...
Post Reply
User avatar
RainMan
Registered User
Posts: 183
Joined: Mon Jan 10, 2022 8:10 pm
Location: Cranbrook BC
Preferred name: Rick
Has thanked: 56 times
Been thanked: 48 times

Wixey digital readout install

#1

Post by RainMan »

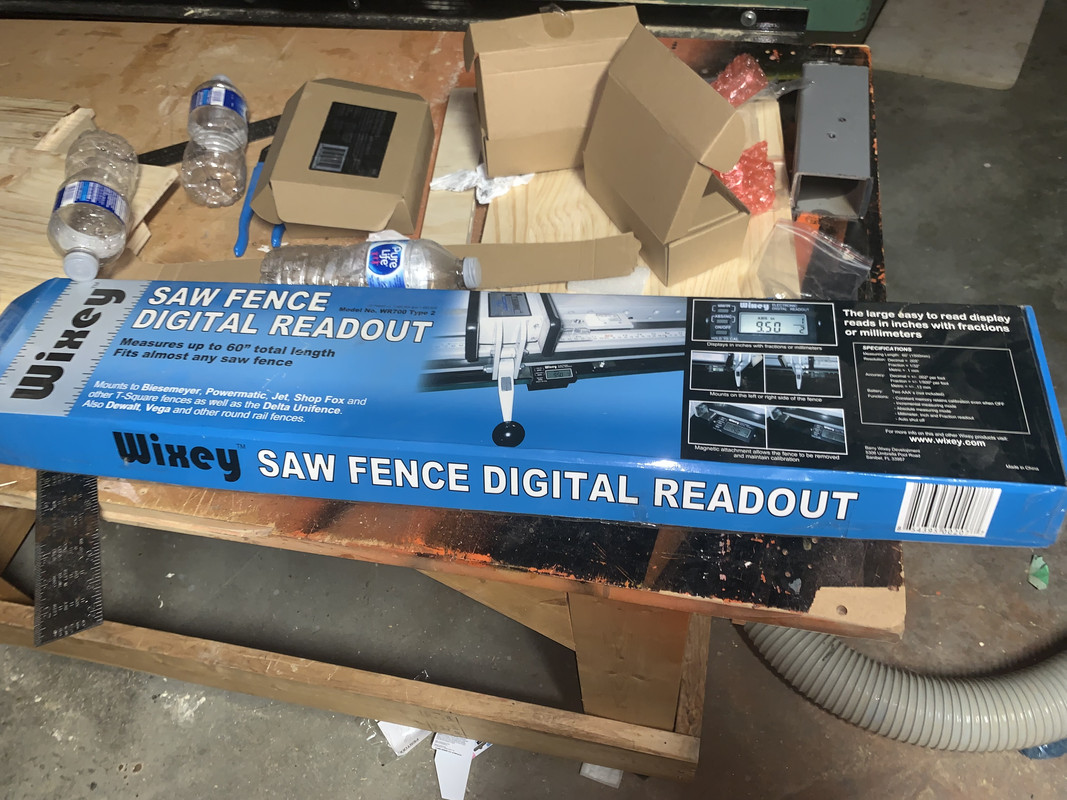
Hey all , I bought this years ago and never got around to installing it . I was kind of disappointed with the purchase as I heard they just upgraded it with AAA batteries instead of the first iteration that used those button batteries.
So was I ever surprised when I opened the box and realized it was the version that used two AAA batteries .
I’m having problems with repeatability, and I’m hoping this may help . I swear the best way to build cabinets would be to have two table saws ,one with a rip blade and the other with a dado stack , but unfortunately my last name isn’t Rockefeller lol .

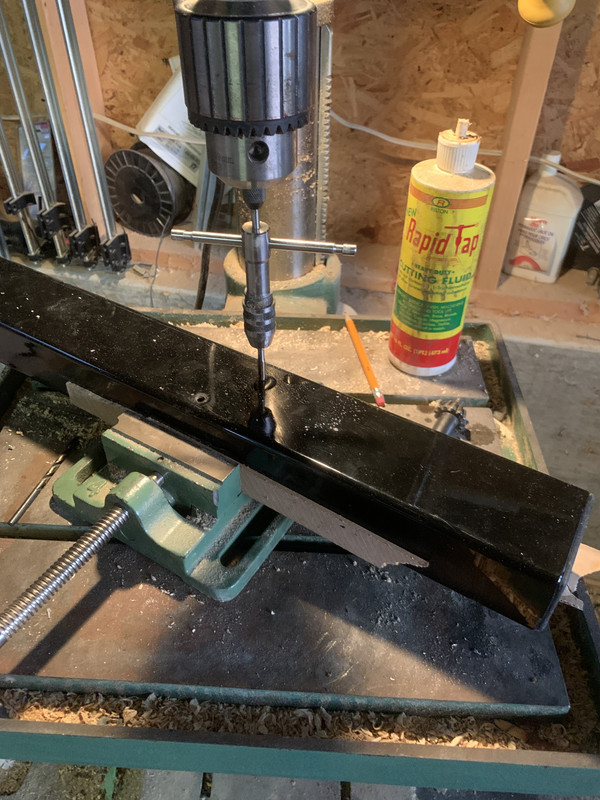
I really wanted to use the factory holes that hold the fence on , but I would have to fabricate new brackets , so I relented and drilled and tapped holes on the bottom of the fences square tube post or whatever it’s called .
‘The manual showed drilling in the fence post and using their self tapping bolts,but I prefer to tap my holes .
I hate working upside down and instead removed the post as it only had 8 or so bolts holding it on. This let me put it on my drill press and get some consistency.
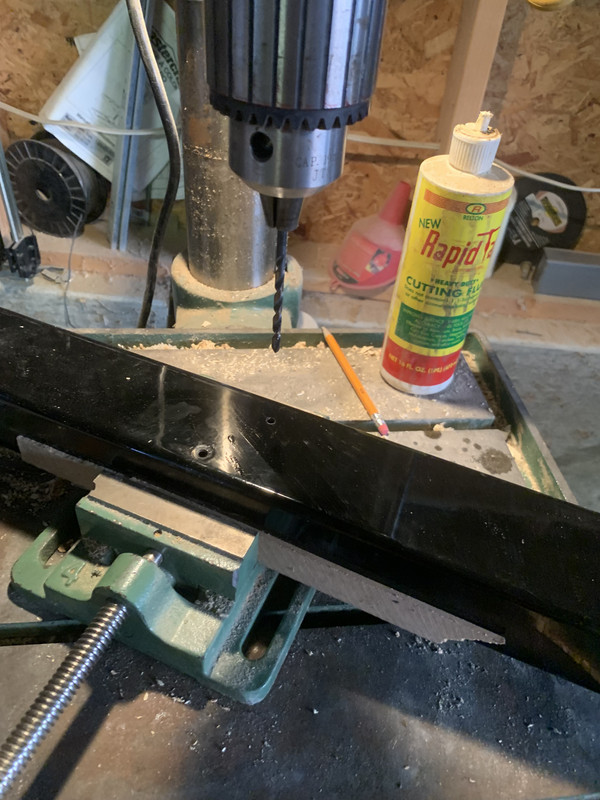
Image

Image


Image

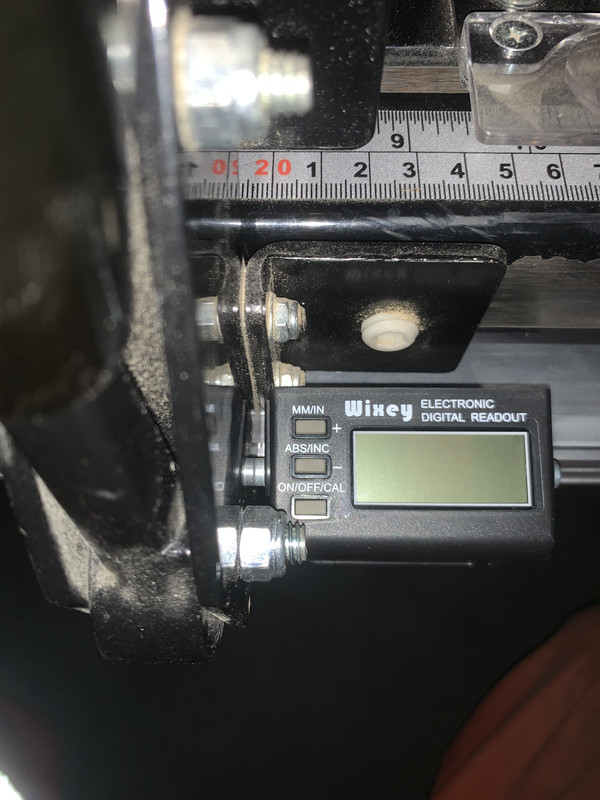
Here’s a pic of the digital gauge on its track . I measured and installed the guide in order to have the magnet line up perfectly on the side of the fence . Unfortunately it is coming off as I move the fence . I’m debating to glue a rare earth magnet on the side of the fence that lines up with the one on the Wixey gauge . I can’t see how that would come apart
Image


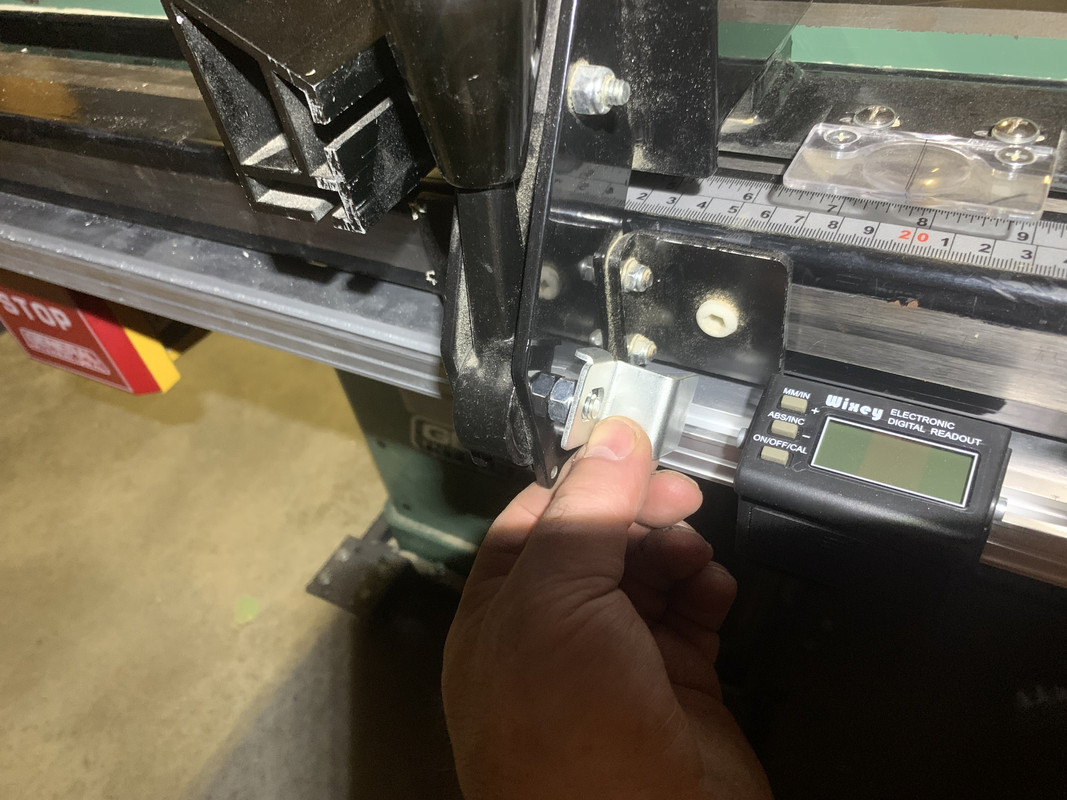
I could install the included bracket if I had to .
Image

Image


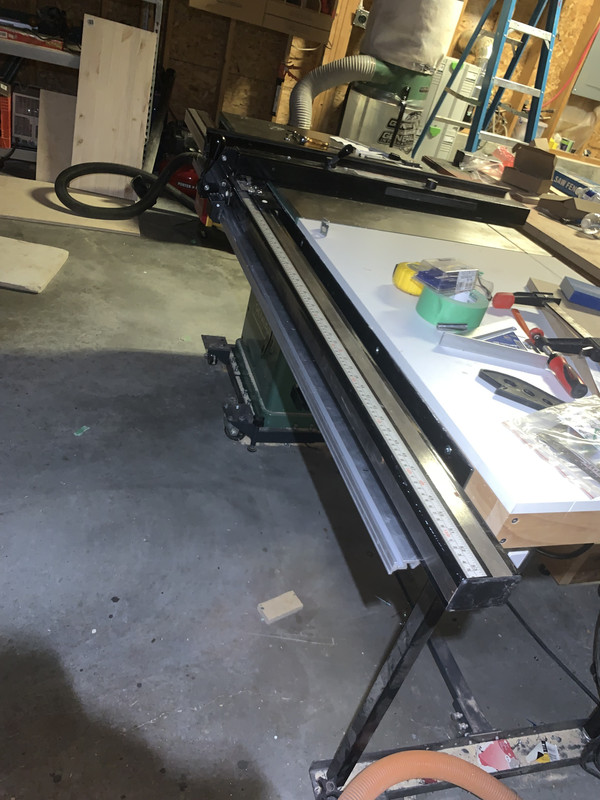
The guide is really solid and is tucked in not to bad at all
Image


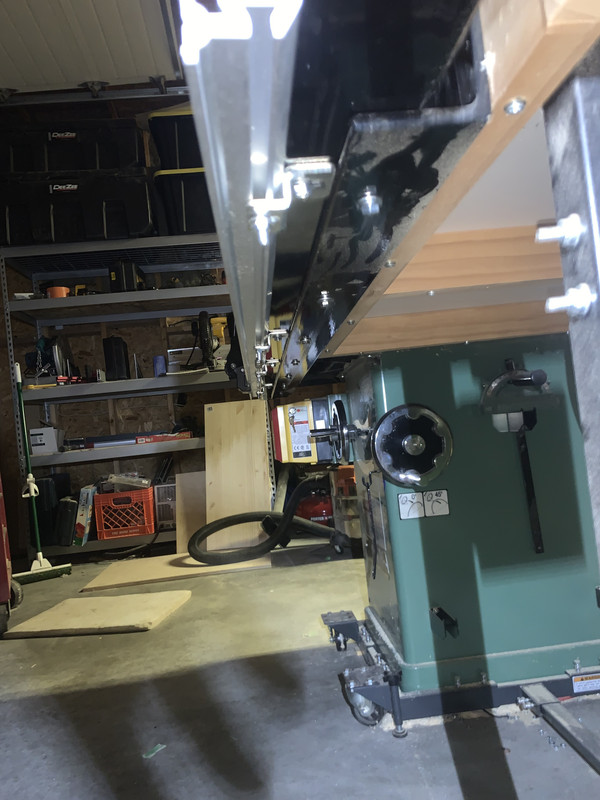
What it looks like underneath with included brackets
Image


image storage
I don’t always insulate , but when I do .
Ok , I never insulate
Cherryville Chuck
Global Moderator
Global Moderator
Posts: 2648
Joined: Mon Oct 05, 2020 8:27 pm
Location: Cherryville, B C
Has thanked: 561 times
Been thanked: 1011 times

Re: Wixey digital readout install

#2

Post by Cherryville Chuck »

I glued a magnet onto the side of my drill press to hold the chuck key. It held for about 15 years and then let go. At which point I realized it didn't need to be glued to the press. The magnet either sticks to the key or the press and it doesn't make much difference either way.

I see old Rockwell 10" saws go for as low as $50-75 at times, often for $100 which is what I paid a friend. They were a fairly well made saw. Last winter I did a project that I needed 3 saws for so I had my son's DW portable on my workbench.
User avatar
RainMan
Registered User
Posts: 183
Joined: Mon Jan 10, 2022 8:10 pm
Location: Cranbrook BC
Preferred name: Rick
Has thanked: 56 times
Been thanked: 48 times

Re: Wixey digital readout install

#3

Post by RainMan »

Cherryville Chuck wrote: Wed Jul 10, 2024 12:36 pm I glued a magnet onto the side of my drill press to hold the chuck key. It held for about 15 years and then let go. At which point I realized it didn't need to be glued to the press. The magnet either sticks to the key or the press and it doesn't make much difference either way.

I see old Rockwell 10" saws go for as low as $50-75 at times, often for $100 which is what I paid a friend. They were a fairly well made saw. Last winter I did a project that I needed 3 saws for so I had my son's DW portable on my workbench.
Wish I had enough real estate for a second table saw , next lifetime maybe . So Charles your saying you have two setup ? That would be awesome

I put the kibosh on my magnet idea and decided to modify their bracket that comes with the kit .
Image

Image


Then I looked underneath and realized if I reversed the brackets I could get the guide in more,but only gained an 1/8th of an inch . Then I had to recalibrate it all over again .
Image


So I watched YouTube videos on how to calibrate and it was mentioned to cut something and check with your calipers , then move the fence that amount back and set to zero.
They say to use a hardwood,but I have none so I tried a piece of that really solid plastic they use for cutting boards . Mines like 4 inches thick , so I cut a section and went through the procedure , but when I cut a piece of wood it was off by too much imo .


So I just set the fence and had it kissing the blade like the instructions recommend. Set to zero and did a test cut with mdf and plywood . Much better outcome. I can live with one or two thousands

Mdf
Image


Plywood
Image
I don’t always insulate , but when I do .
Ok , I never insulate
Cherryville Chuck
Global Moderator
Global Moderator
Posts: 2648
Joined: Mon Oct 05, 2020 8:27 pm
Location: Cherryville, B C
Has thanked: 561 times
Been thanked: 1011 times

Re: Wixey digital readout install

#4

Post by Cherryville Chuck »

RainMan wrote: Wed Jul 10, 2024 7:28 pm
Cherryville Chuck wrote: Wed Jul 10, 2024 12:36 pm
Wish I had enough real estate for a second table saw , next lifetime maybe . So Charles your saying you have two setup ? That would be awesome


So I just set the fence and had it kissing the blade like the instructions recommend. Set to zero and did a test cut with mdf and plywood . Much better outcome. I can live with one or two thousands.
Accuracy to 1/32nd of an inch is considered pretty good in cabinet making. That's about 3/100ths. Accuracy to 1/64th is considered really good. That 1 1.5/100ths. I worked in a cabinet shop for a while where all the machinery was set to metric and 1mm was considered good enough there which is 1/25th of an inch.

I've had two saws for quite some time. I started back in the 80s with a Craftsman aluminum top 1hp direct drive. It did a lot of work but the fence left a lot to be desired. I finally decided to upgrade to a unisaw and the Cman became the backup. When a friend offered me his Rockwell for $100 I grabbed it and gave the Cman to my inlaws so that the FIL wouldn't have a reason to use my unisaw.

Many times I've had the uni set for a job and needed to make some other cuts. The Rockwell saves me having to redial the setup. You could put one on wheels so that you could stick it in a corner when you don't need it.

When I need to set the unifence I just rip a piece and then measure what it is and set the fence to that width. Only takes a minute that way.
Post Reply